Not all of your files are meant to be seen by everyone. Your friends and family may not appreciate this truth, but that’s just the way it is sometimes.
Windows
Once 7-Zip is installed, right-click on the folder and select “Add to archive” from the 7-Zip option.

In the compression settings, enter encryption password in the bottom right corner and then click on “OK” to encrypt the folder. This will create a new compressed folder in the same location that can only be extracted using the password you just created. You can delete the unprotected folder to ensure no one access it.
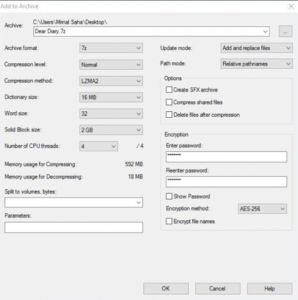
If your receive an error message change Encryption method on the lower right from ES-256 to encryto.
Read full article: Password Protect Windows Folder Using 7-Zip
Mac
Click Command + Shift + A to open the Applications folder
Open the Utilities folder within Applications.

Open Disk Utility.
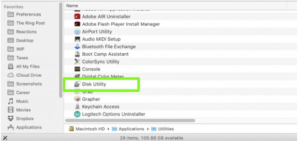
Click File. Select New Image.

Select Image from Folder.

Select the folder you wish to protect and click Open.
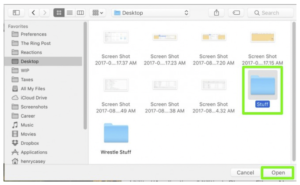
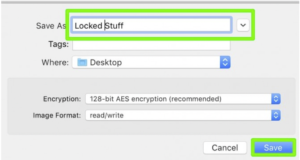
Click on the Image Format option menu and select read/write.

Click on the Encryption menu and click 128-bit AES encryption.

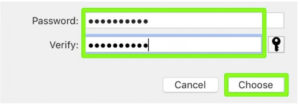
Enter the password for this folder twice, and click Choose.
Name the locked disk image and click Save.
Click Done.

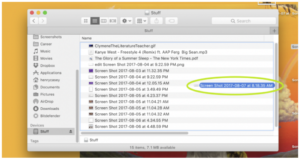
You’ve turned your folder into a locked disk image! You can delete the original folder now, if you’d like. Just don’t delete that .DMG file!

And just like a folder, you can add items to your password-protected disk image before ejecting it.
Read article: How to Password Protect a Folder in a Mac


